WAX SEAL STOVE
13.00$
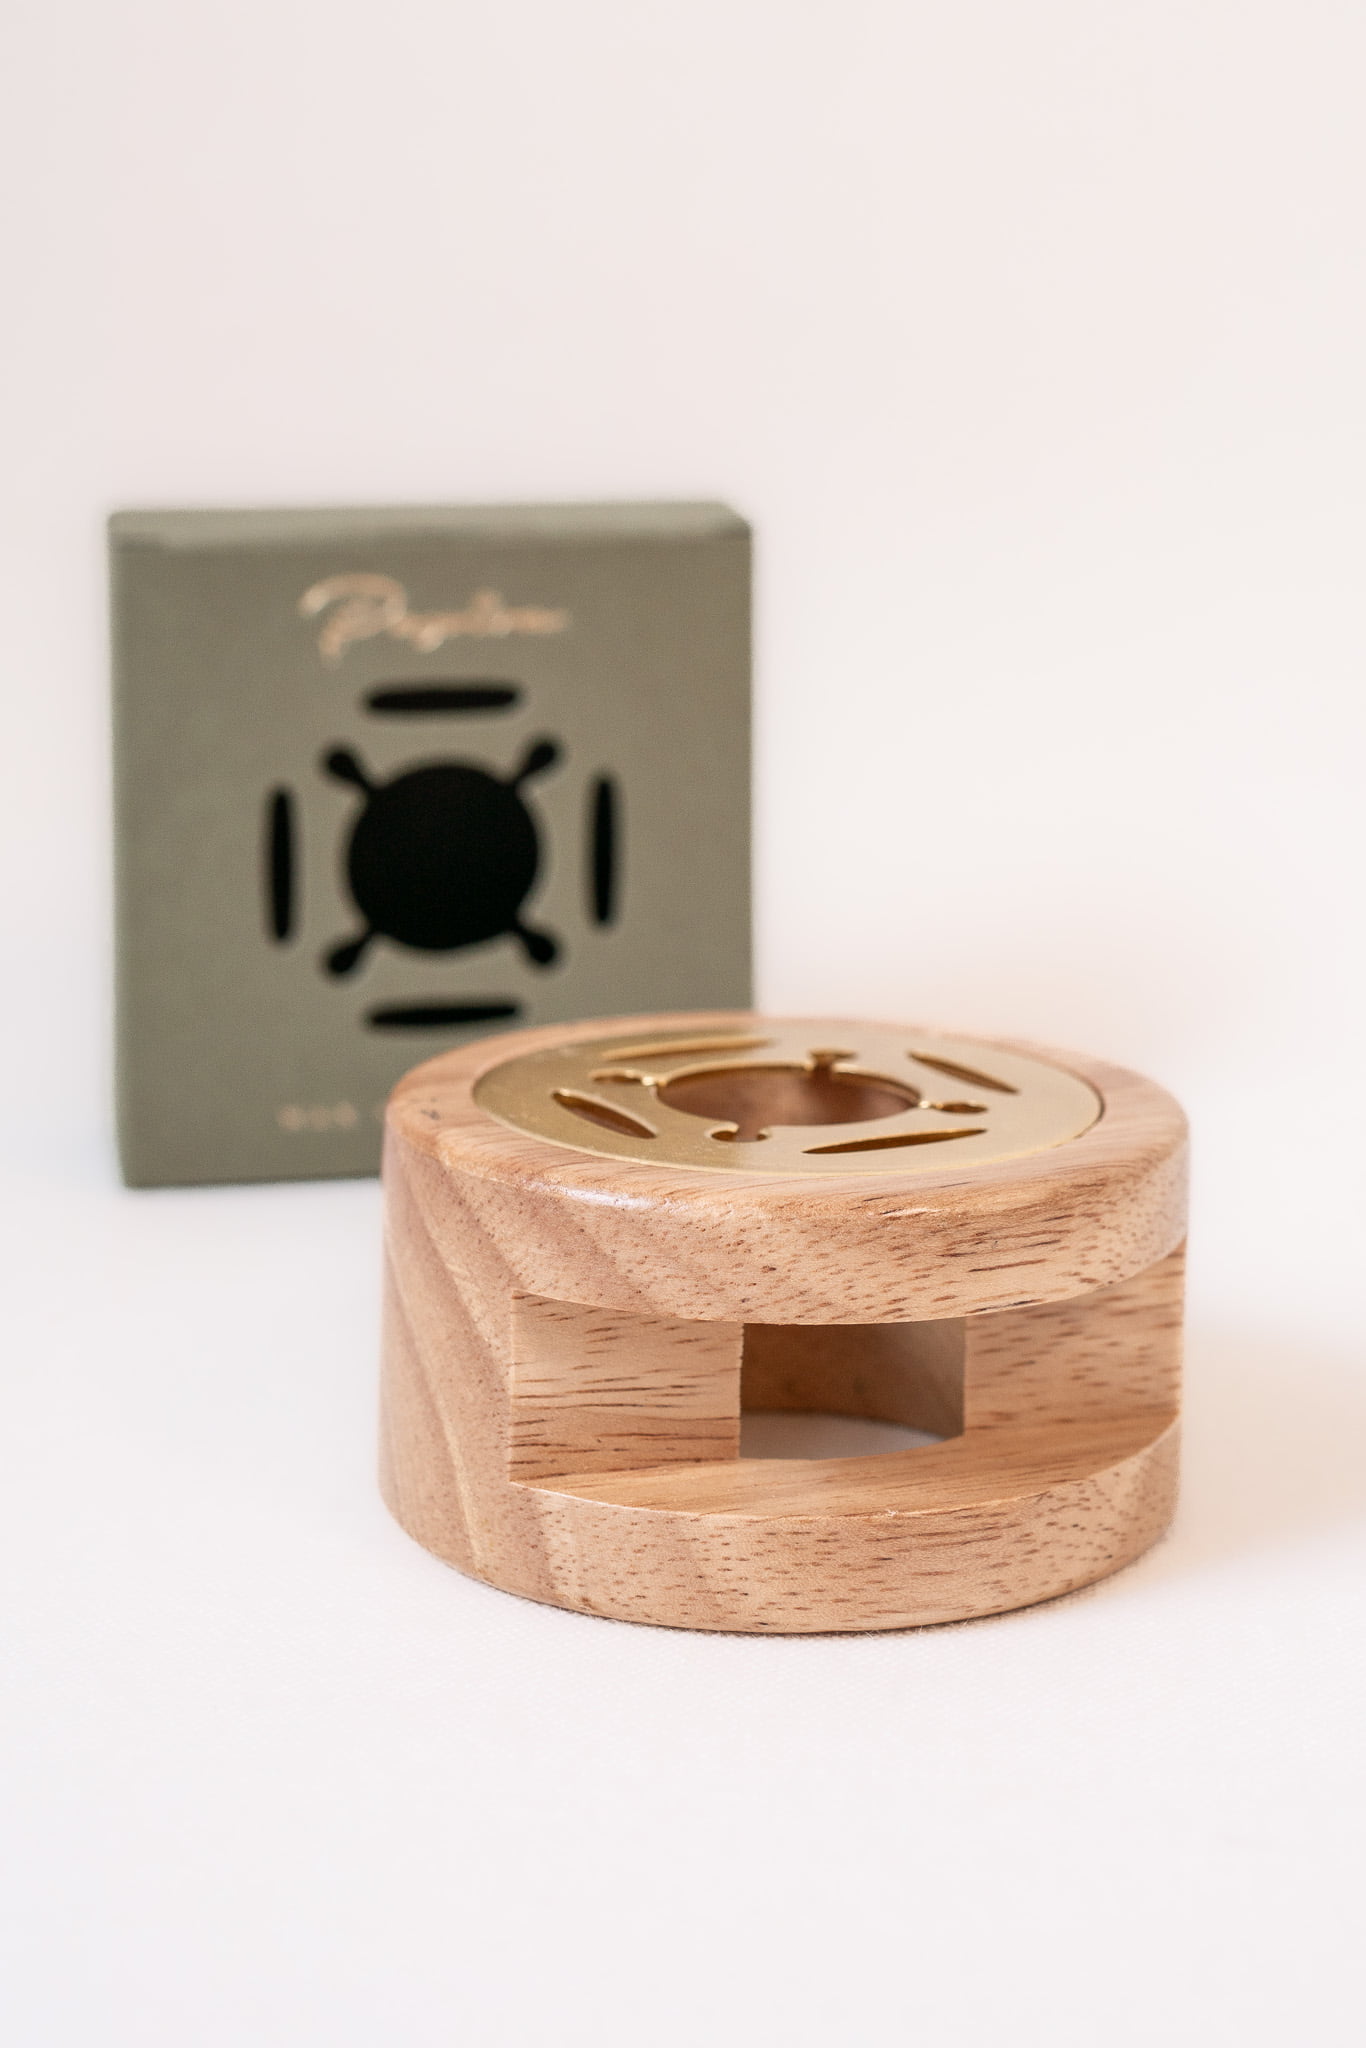
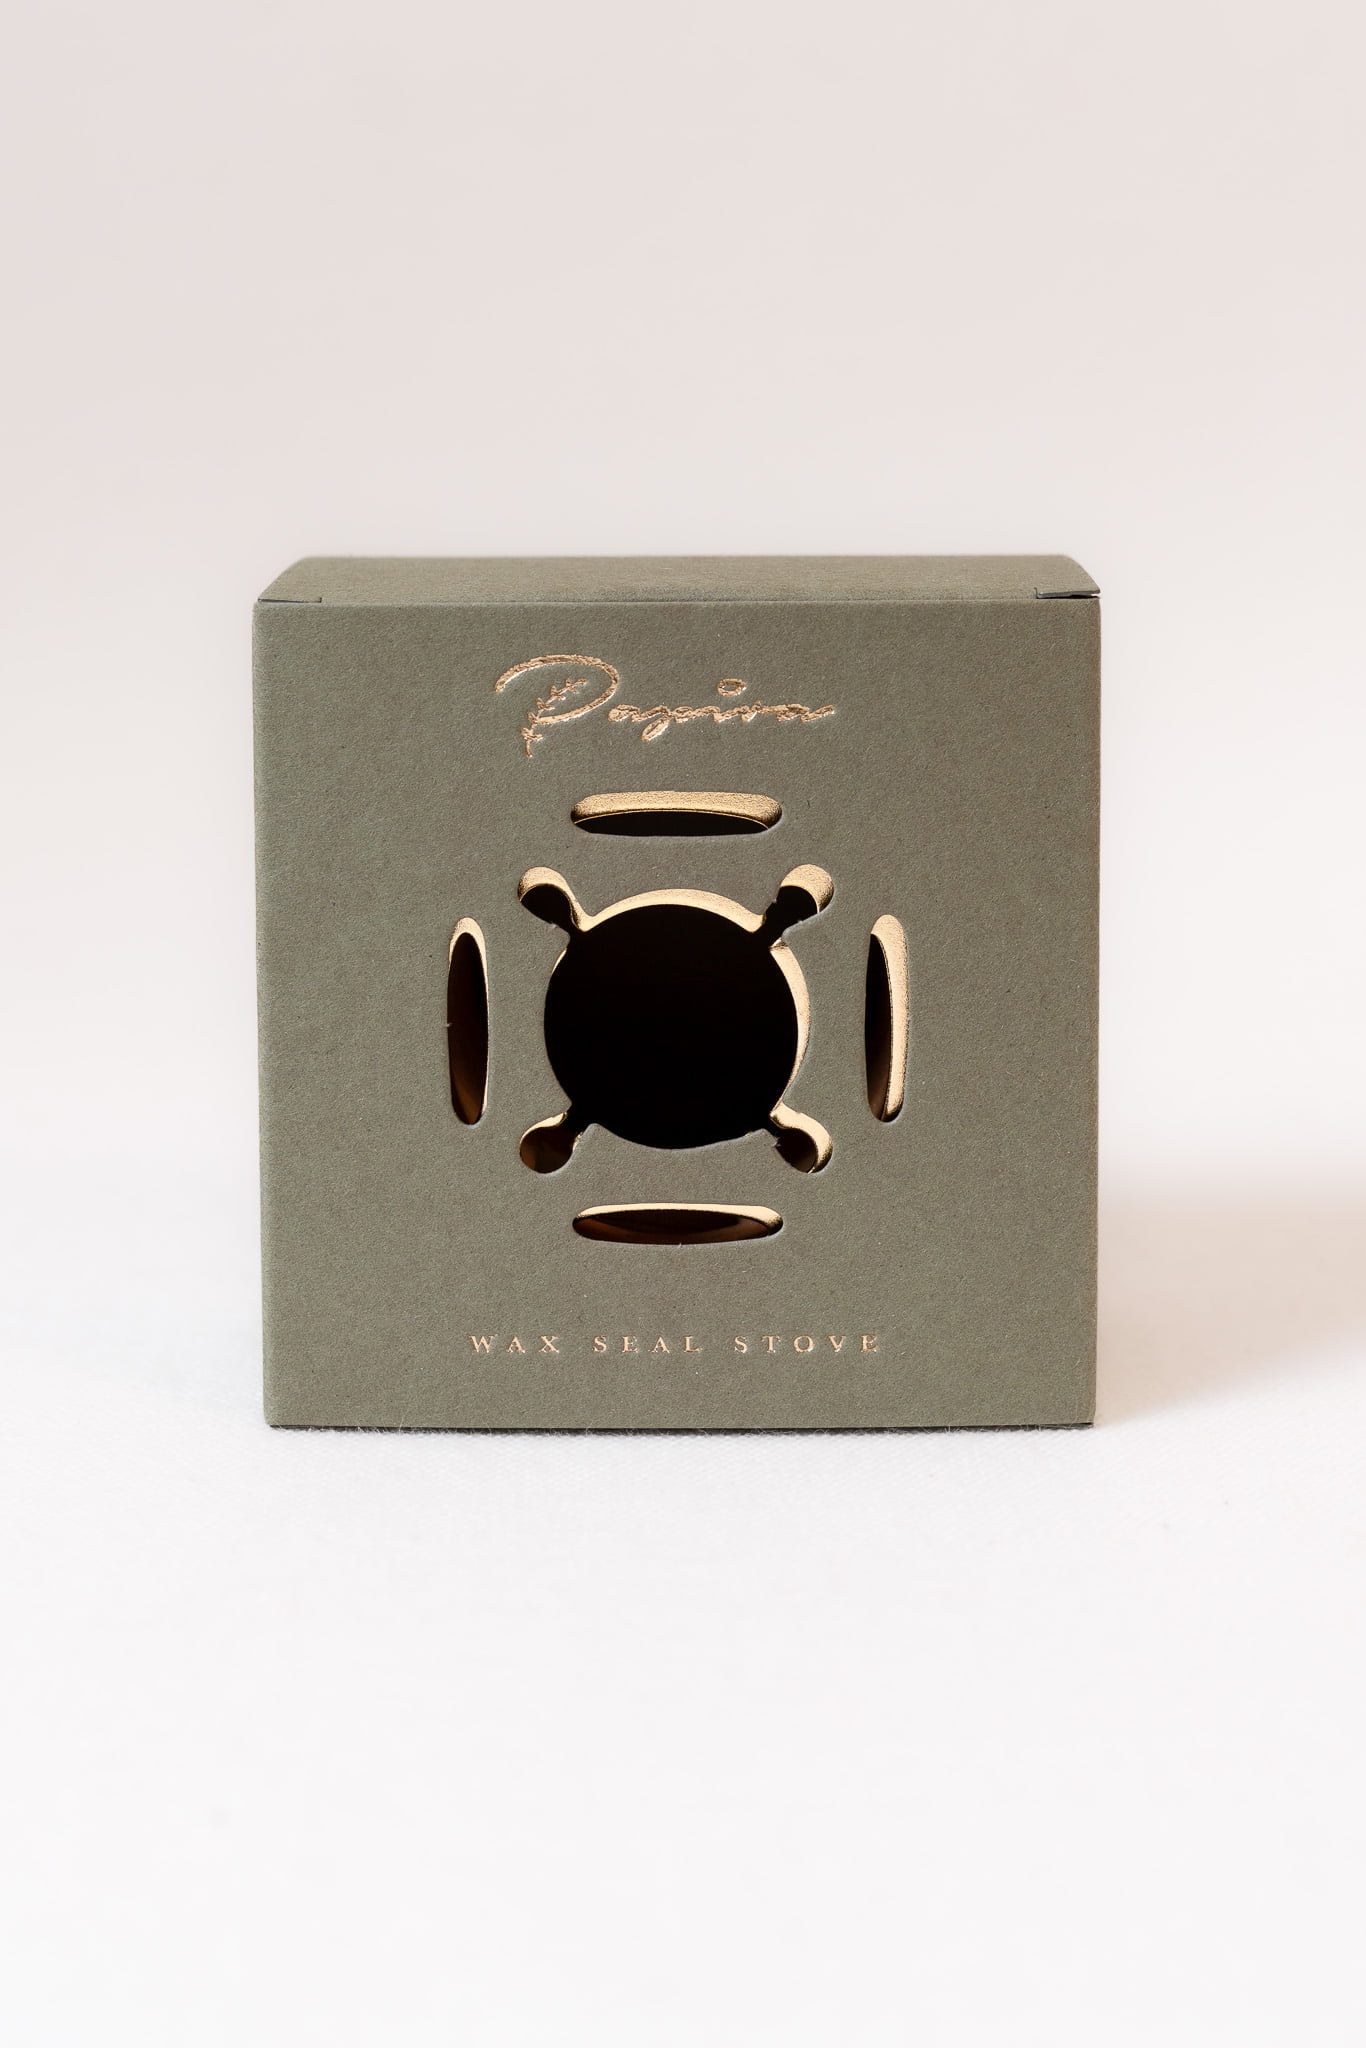
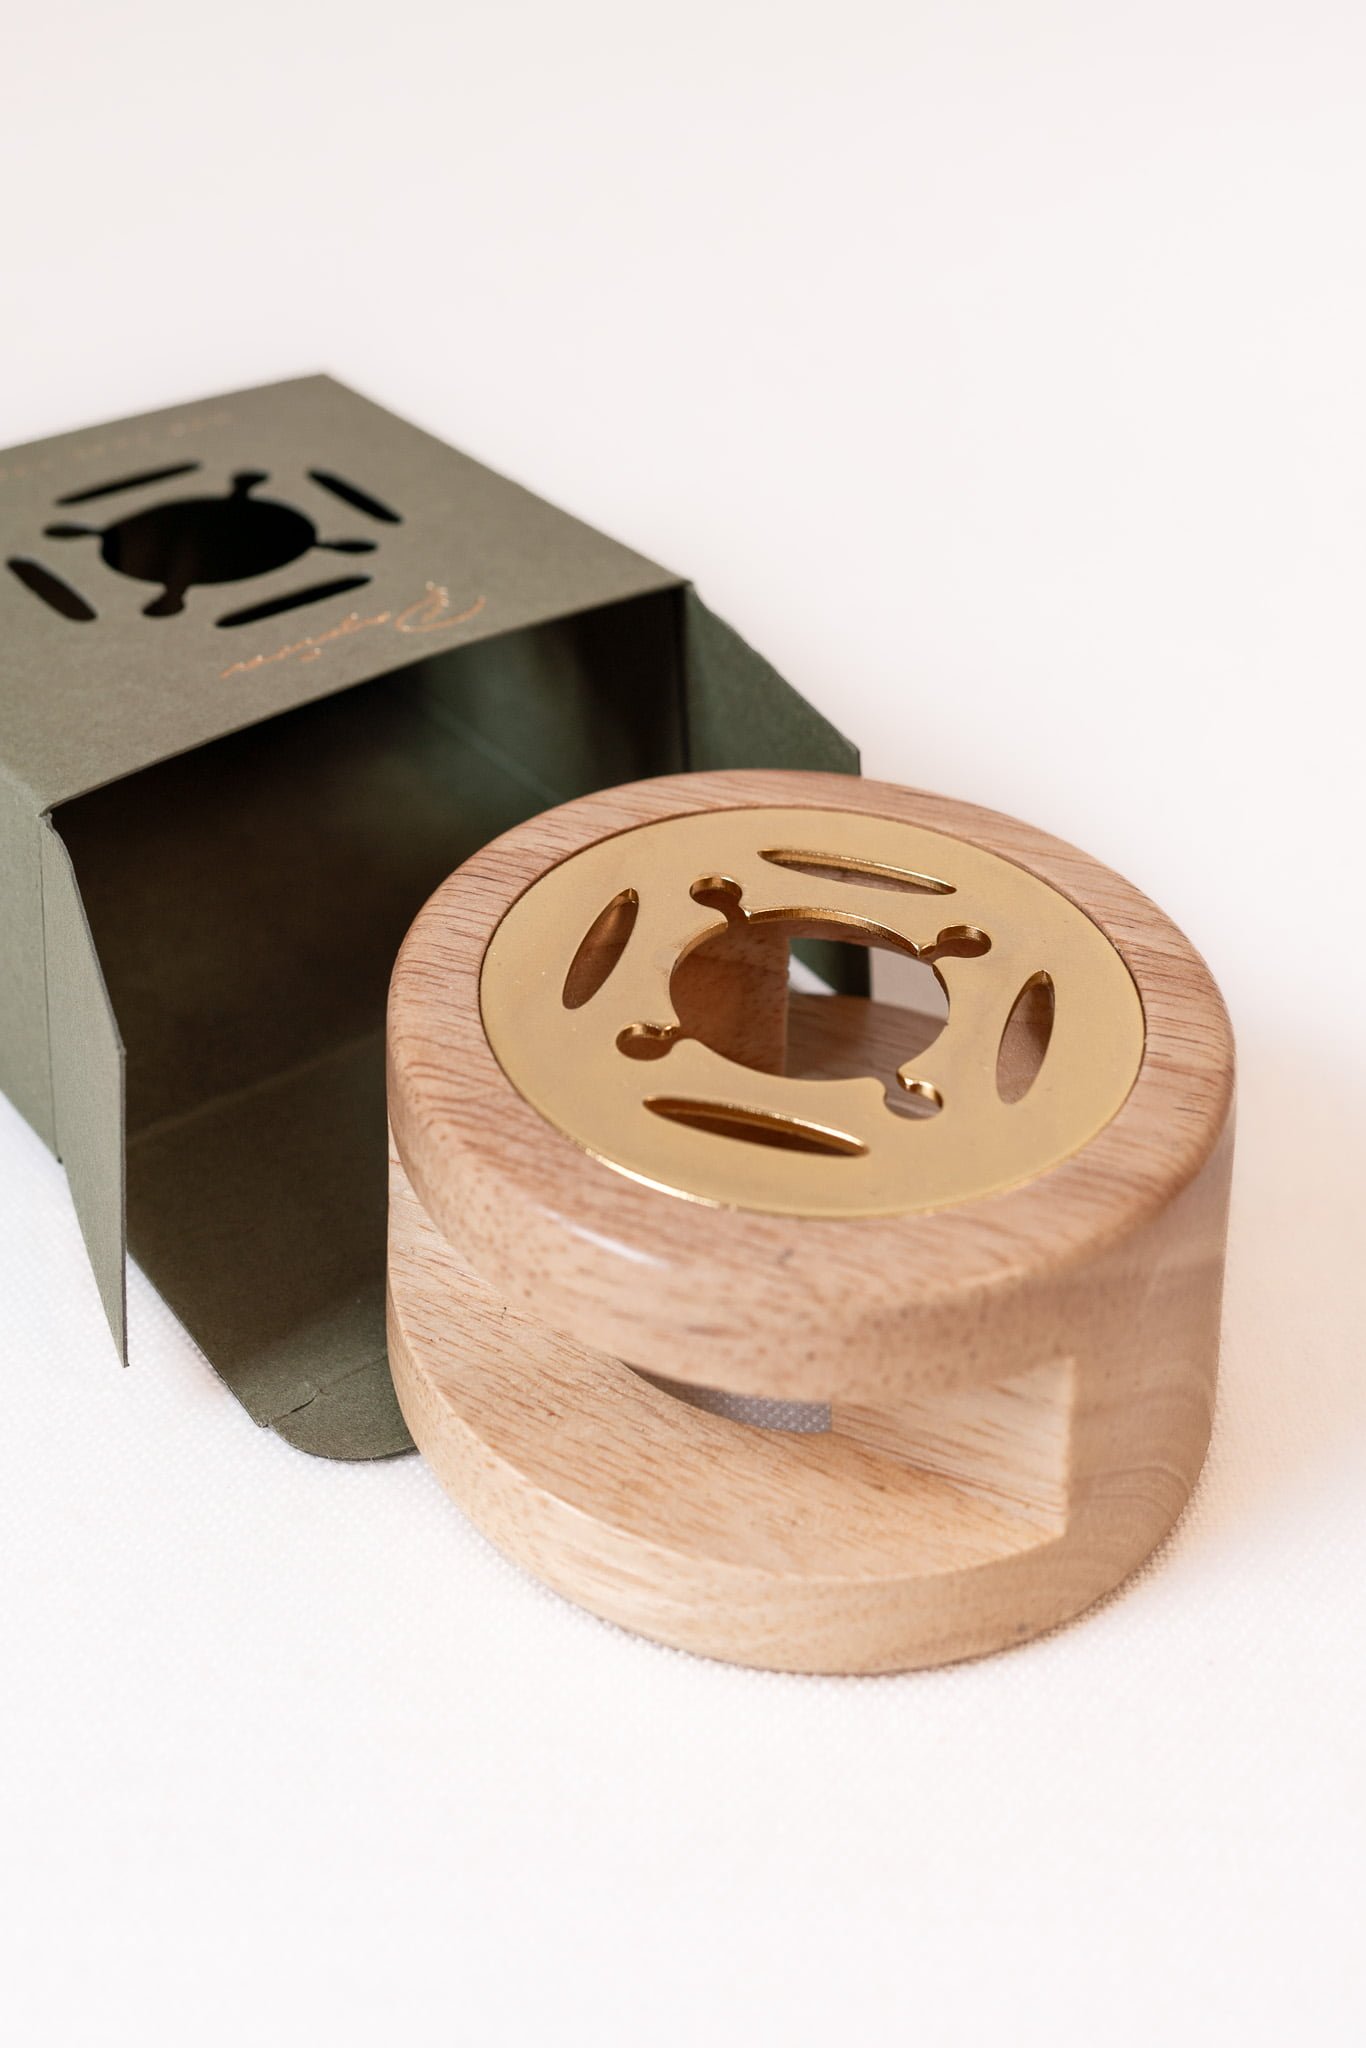
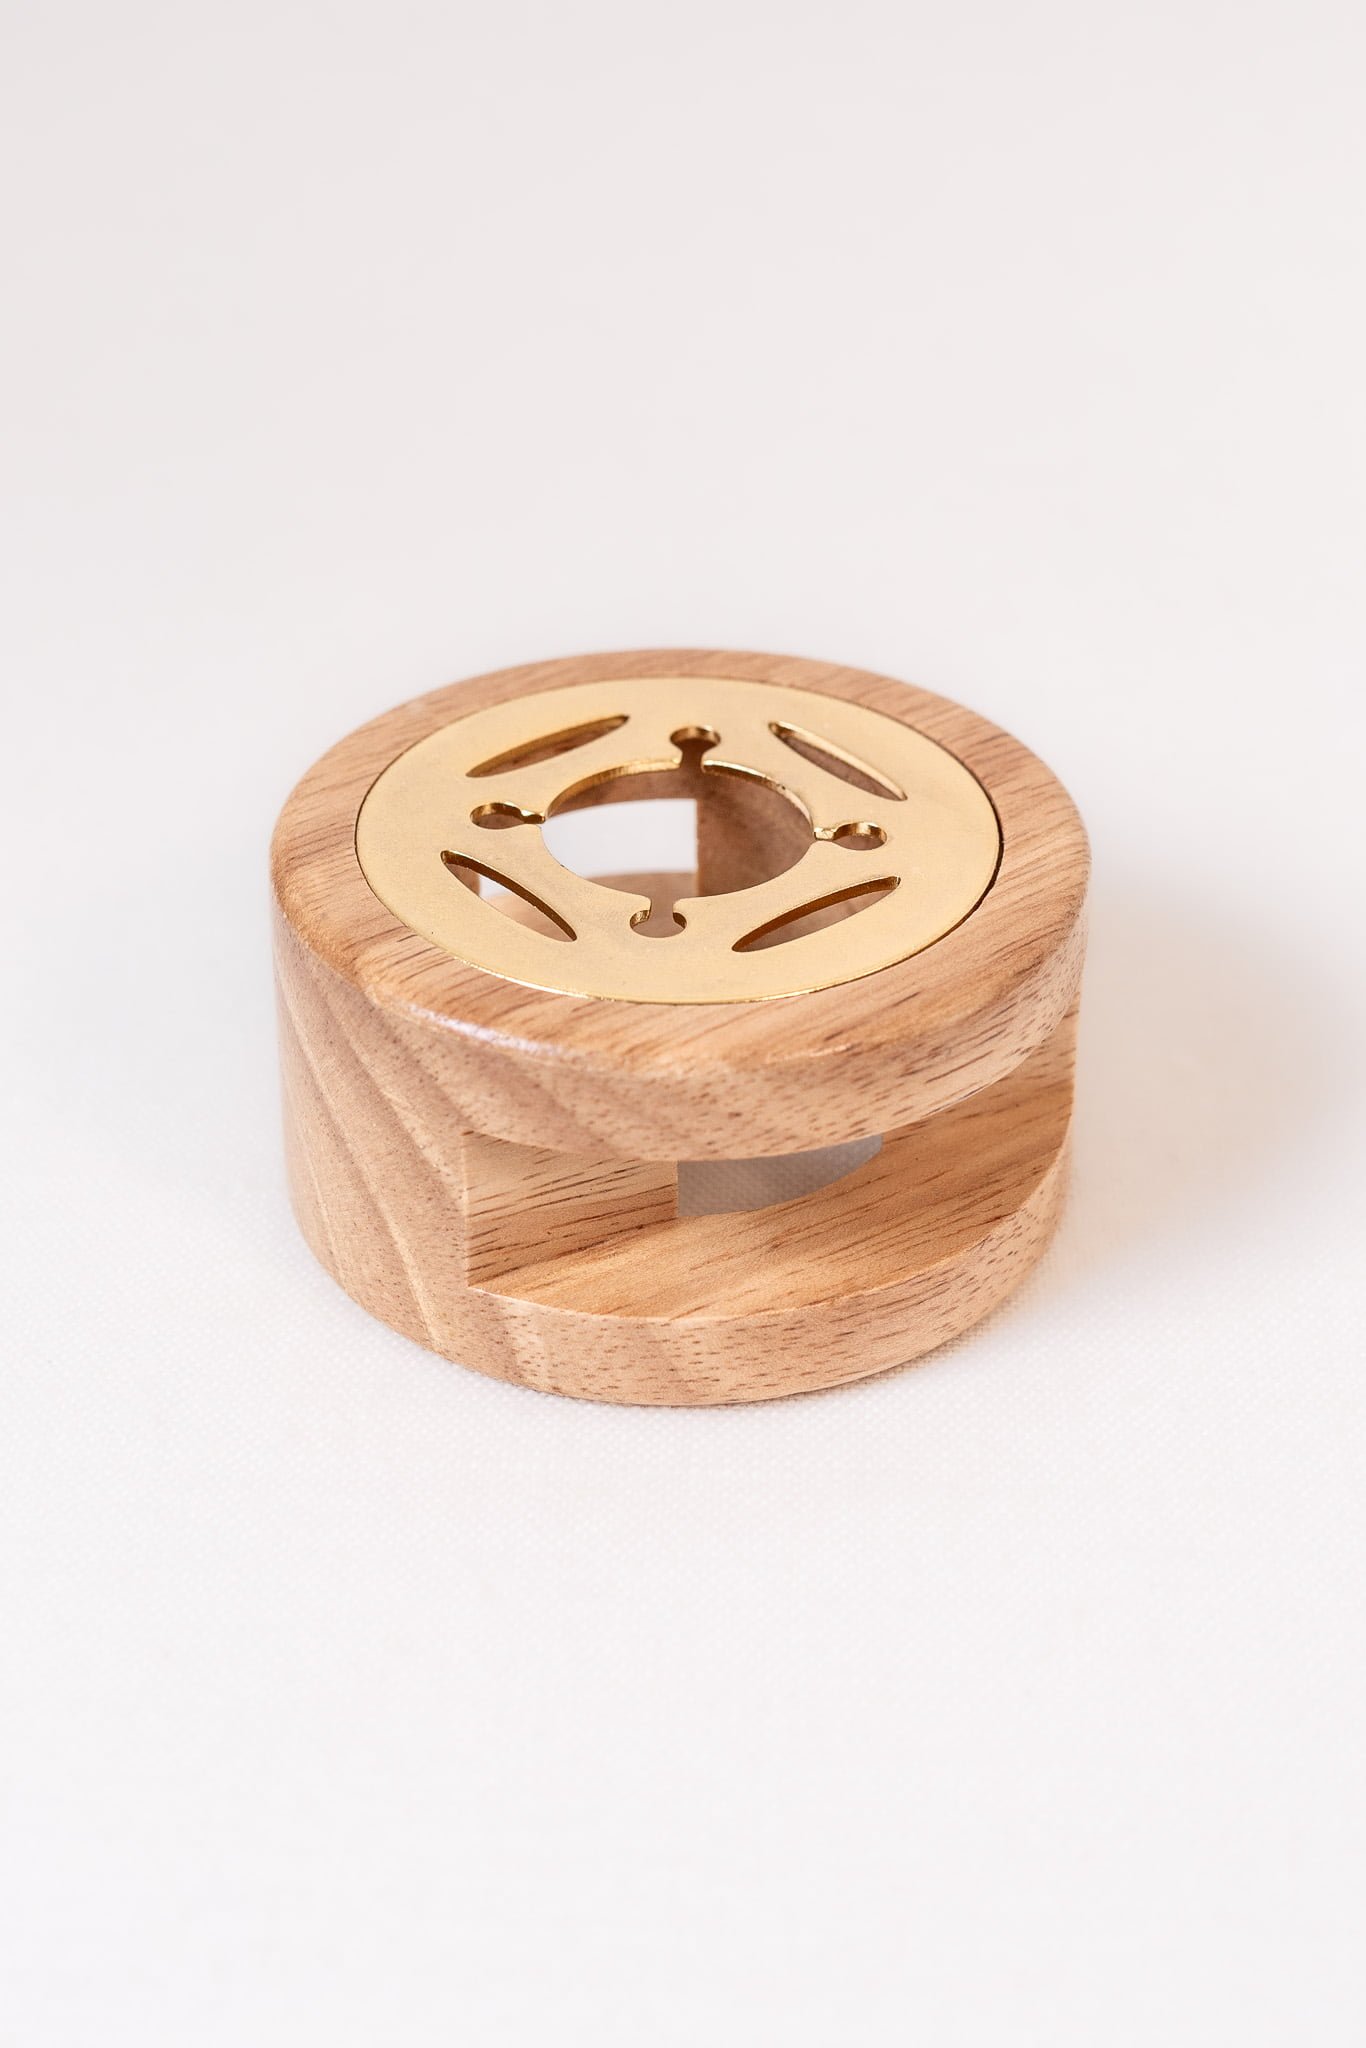
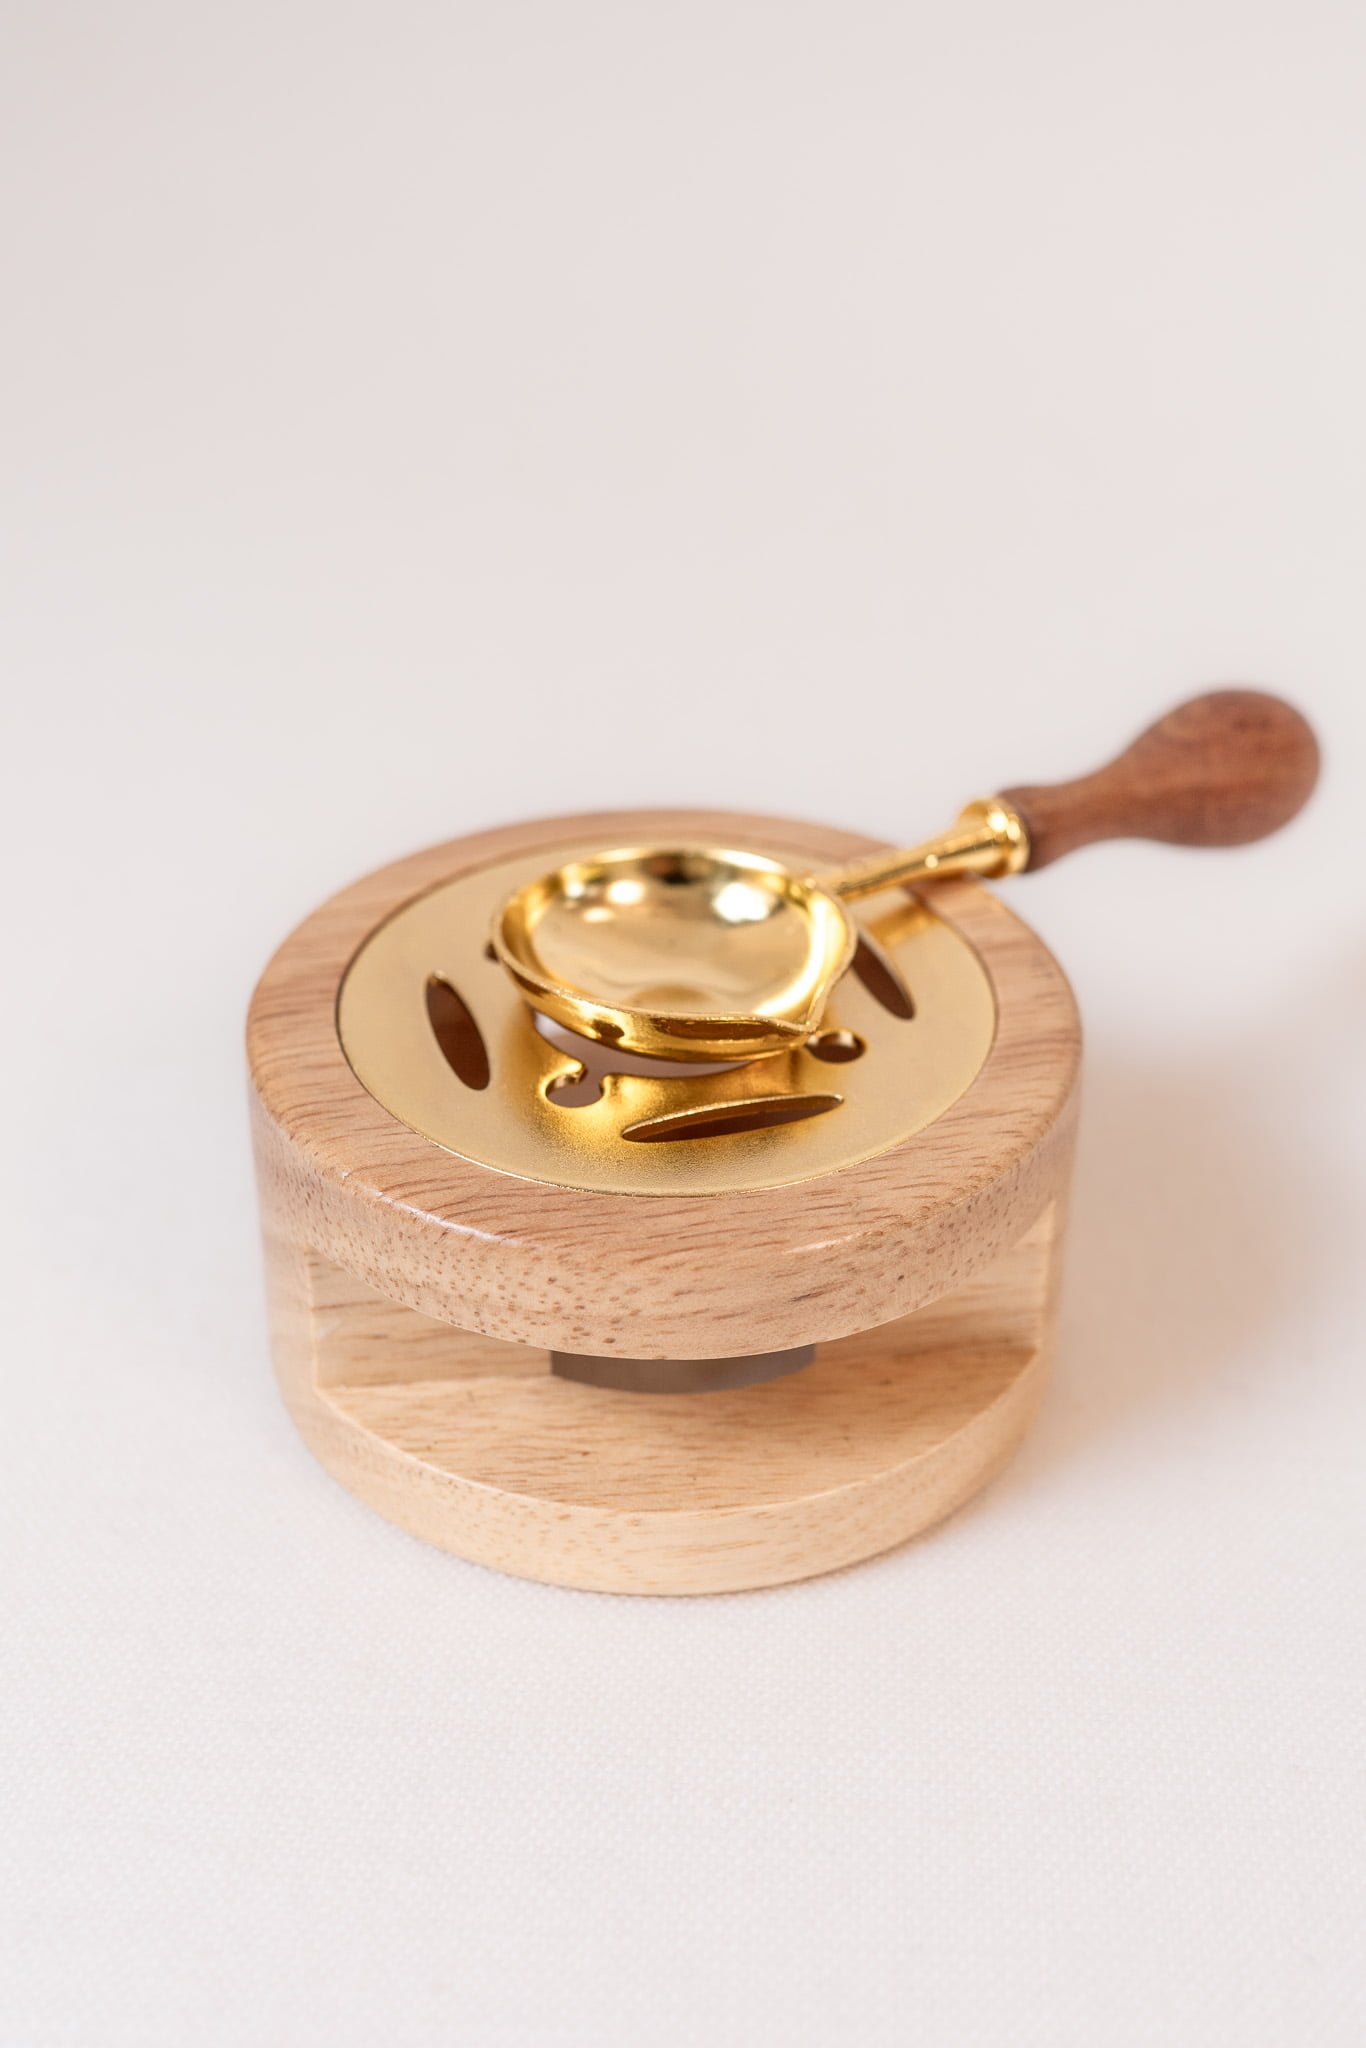
Our Wax Seal Stove is perfect for melting sealing wax beads and creating wax seals the traditional way, while keeping your hands free.
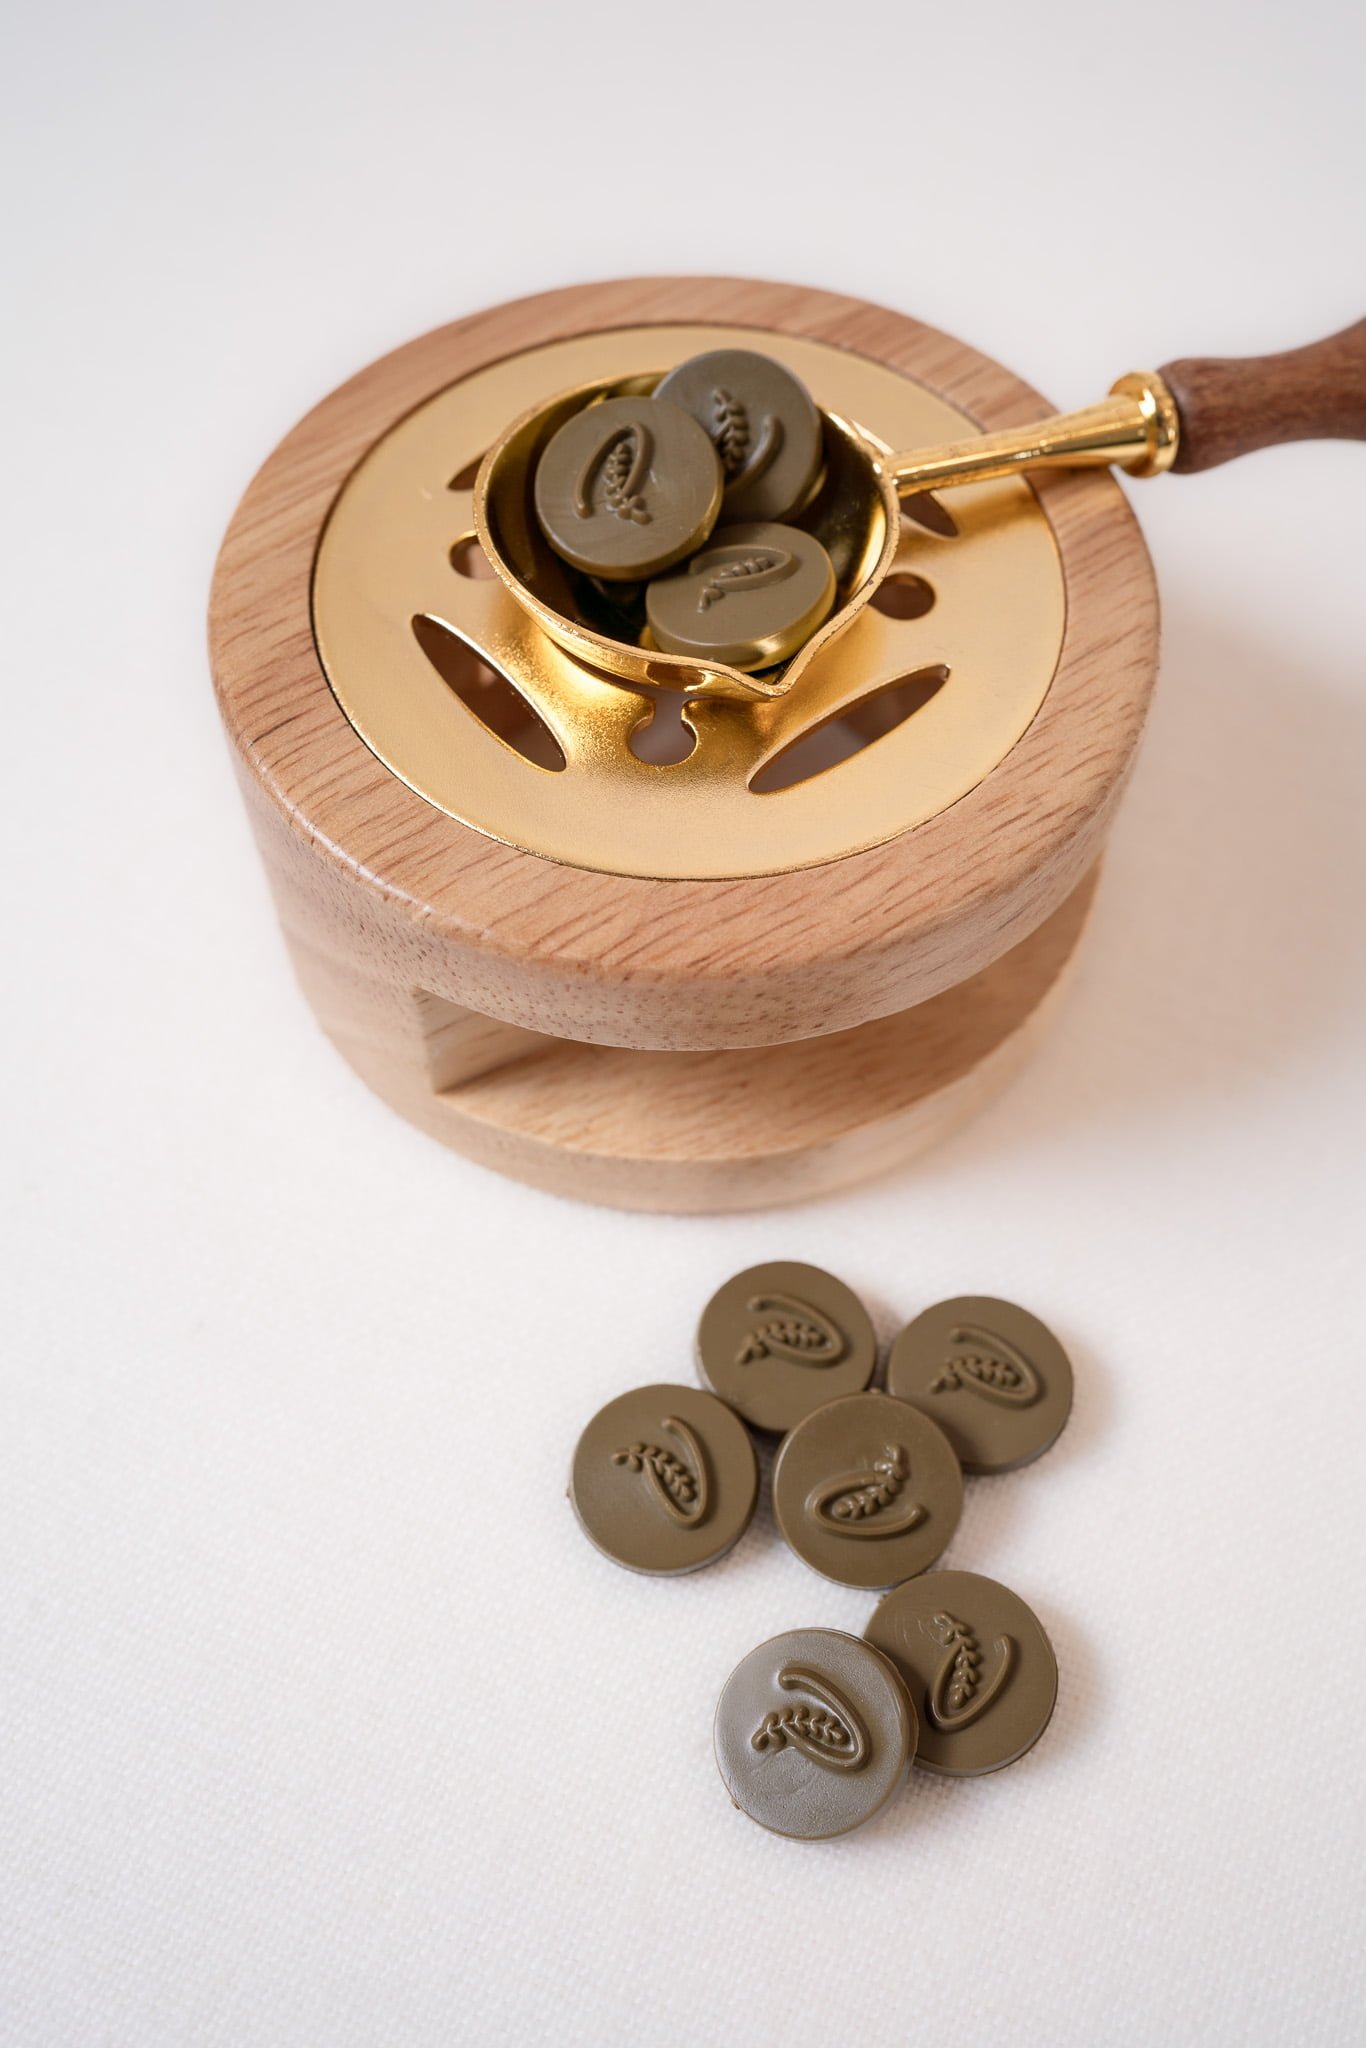
To use, simply light a tea light candle, place your sealing wax beads in the spoon, and let it rest on the stove as you enjoy the mesmerizing melting process.
You have the option to purchase the stove alone, with a sealing wax spoon, or as a Melting Wax Seal Kit which includes 1 stove, 1 spoon, and 1 sealing wax bead pack (your choice of color).
Material: Rosewood Wood, Brass
Dimensions: Approximately 7.7cm (W) x 3.6cm (H) (3.03 x 1.4 inches)
WAX SEAL STOVE
We love using our Wax Seal Stove because it allows us to get creative with our wax seals, from marbled wax seals to mixing different sealing wax bead colors. Being a slower wax seal melting process it resonates with our appreciation for taking things slowly, offering a welcome invitation to pause amidst our busy lives.
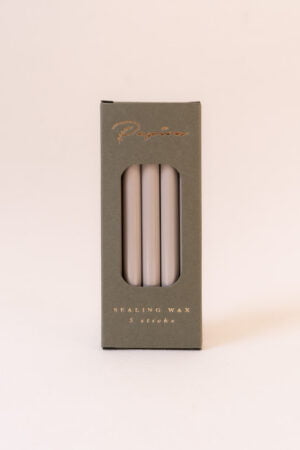
It’s designed to accommodate all spoons from our collection and pair with our sealing wax beads! Alternatively, you can also cut some wax from our Sealing Wax Sticks to create wax seals.
WARNING: Exercise caution when using the stove, as the metal plate and wooden base can become hot.
USAGE INSTRUCTIONS
To create wax seals using our Sealing Wax Pebbles, follow these steps:- Place 2 sealing wax pebbles in a sealing wax spoon. Use more pebbles if you want to create more or bigger than 25mm diameter wax seals.
- If you're using a stove, place a tealight candle underneath and position the spoon on top until the wax melts completely.
- Stir the wax gently; if it begins to bubble, remove it from the flame and allow it to cool until the bubbles disappear.
- Carefully pour the melted wax into a shape slightly smaller than the stamp head you are using. Press your stamp firmly into the wax for a few seconds, then let it harden for about a minute. Remove the stamp gently; if you encounter resistance, allow the wax to cool a bit longer.
- Marvel at your exquisite impression!
G O O D TO K N O W
For easy cleaning of your sealing spoon, simply wipe away the hot wax with a folded paper tissue. If you're not satisfied with the wax seal impression, simply re-melt the wax and try again. Exercise caution when using the stove, as both the metal plate and wooden base can become very hot.PRODUCTION
Sealing Wax Beads are in stock and will be dispatched within 1-3 business days unless ordered alongside a custom product. We ship from our studio in Romania. Shipping times are separate and vary depending on the destination.
For larger orders please get in touch by email for wholesale rates.
SHIPPING
All international orders are shipped via DHL Express (prices and estimated shipping times are available at checkout). International orders outside the European Union may be liable for taxes or tariffs upon entry to your country, these are the responsibility of the client. Customs and import duties are levied by the receiving country and are therefore the buyer’s responsibility.
All our domestic orders are shipped with Fan Courier.
TRANSIT TIME:
Romania: 1-2 business days
European Union: 1-2 business days
Rest of the Word: 4-5 business days


